A Roci of my own
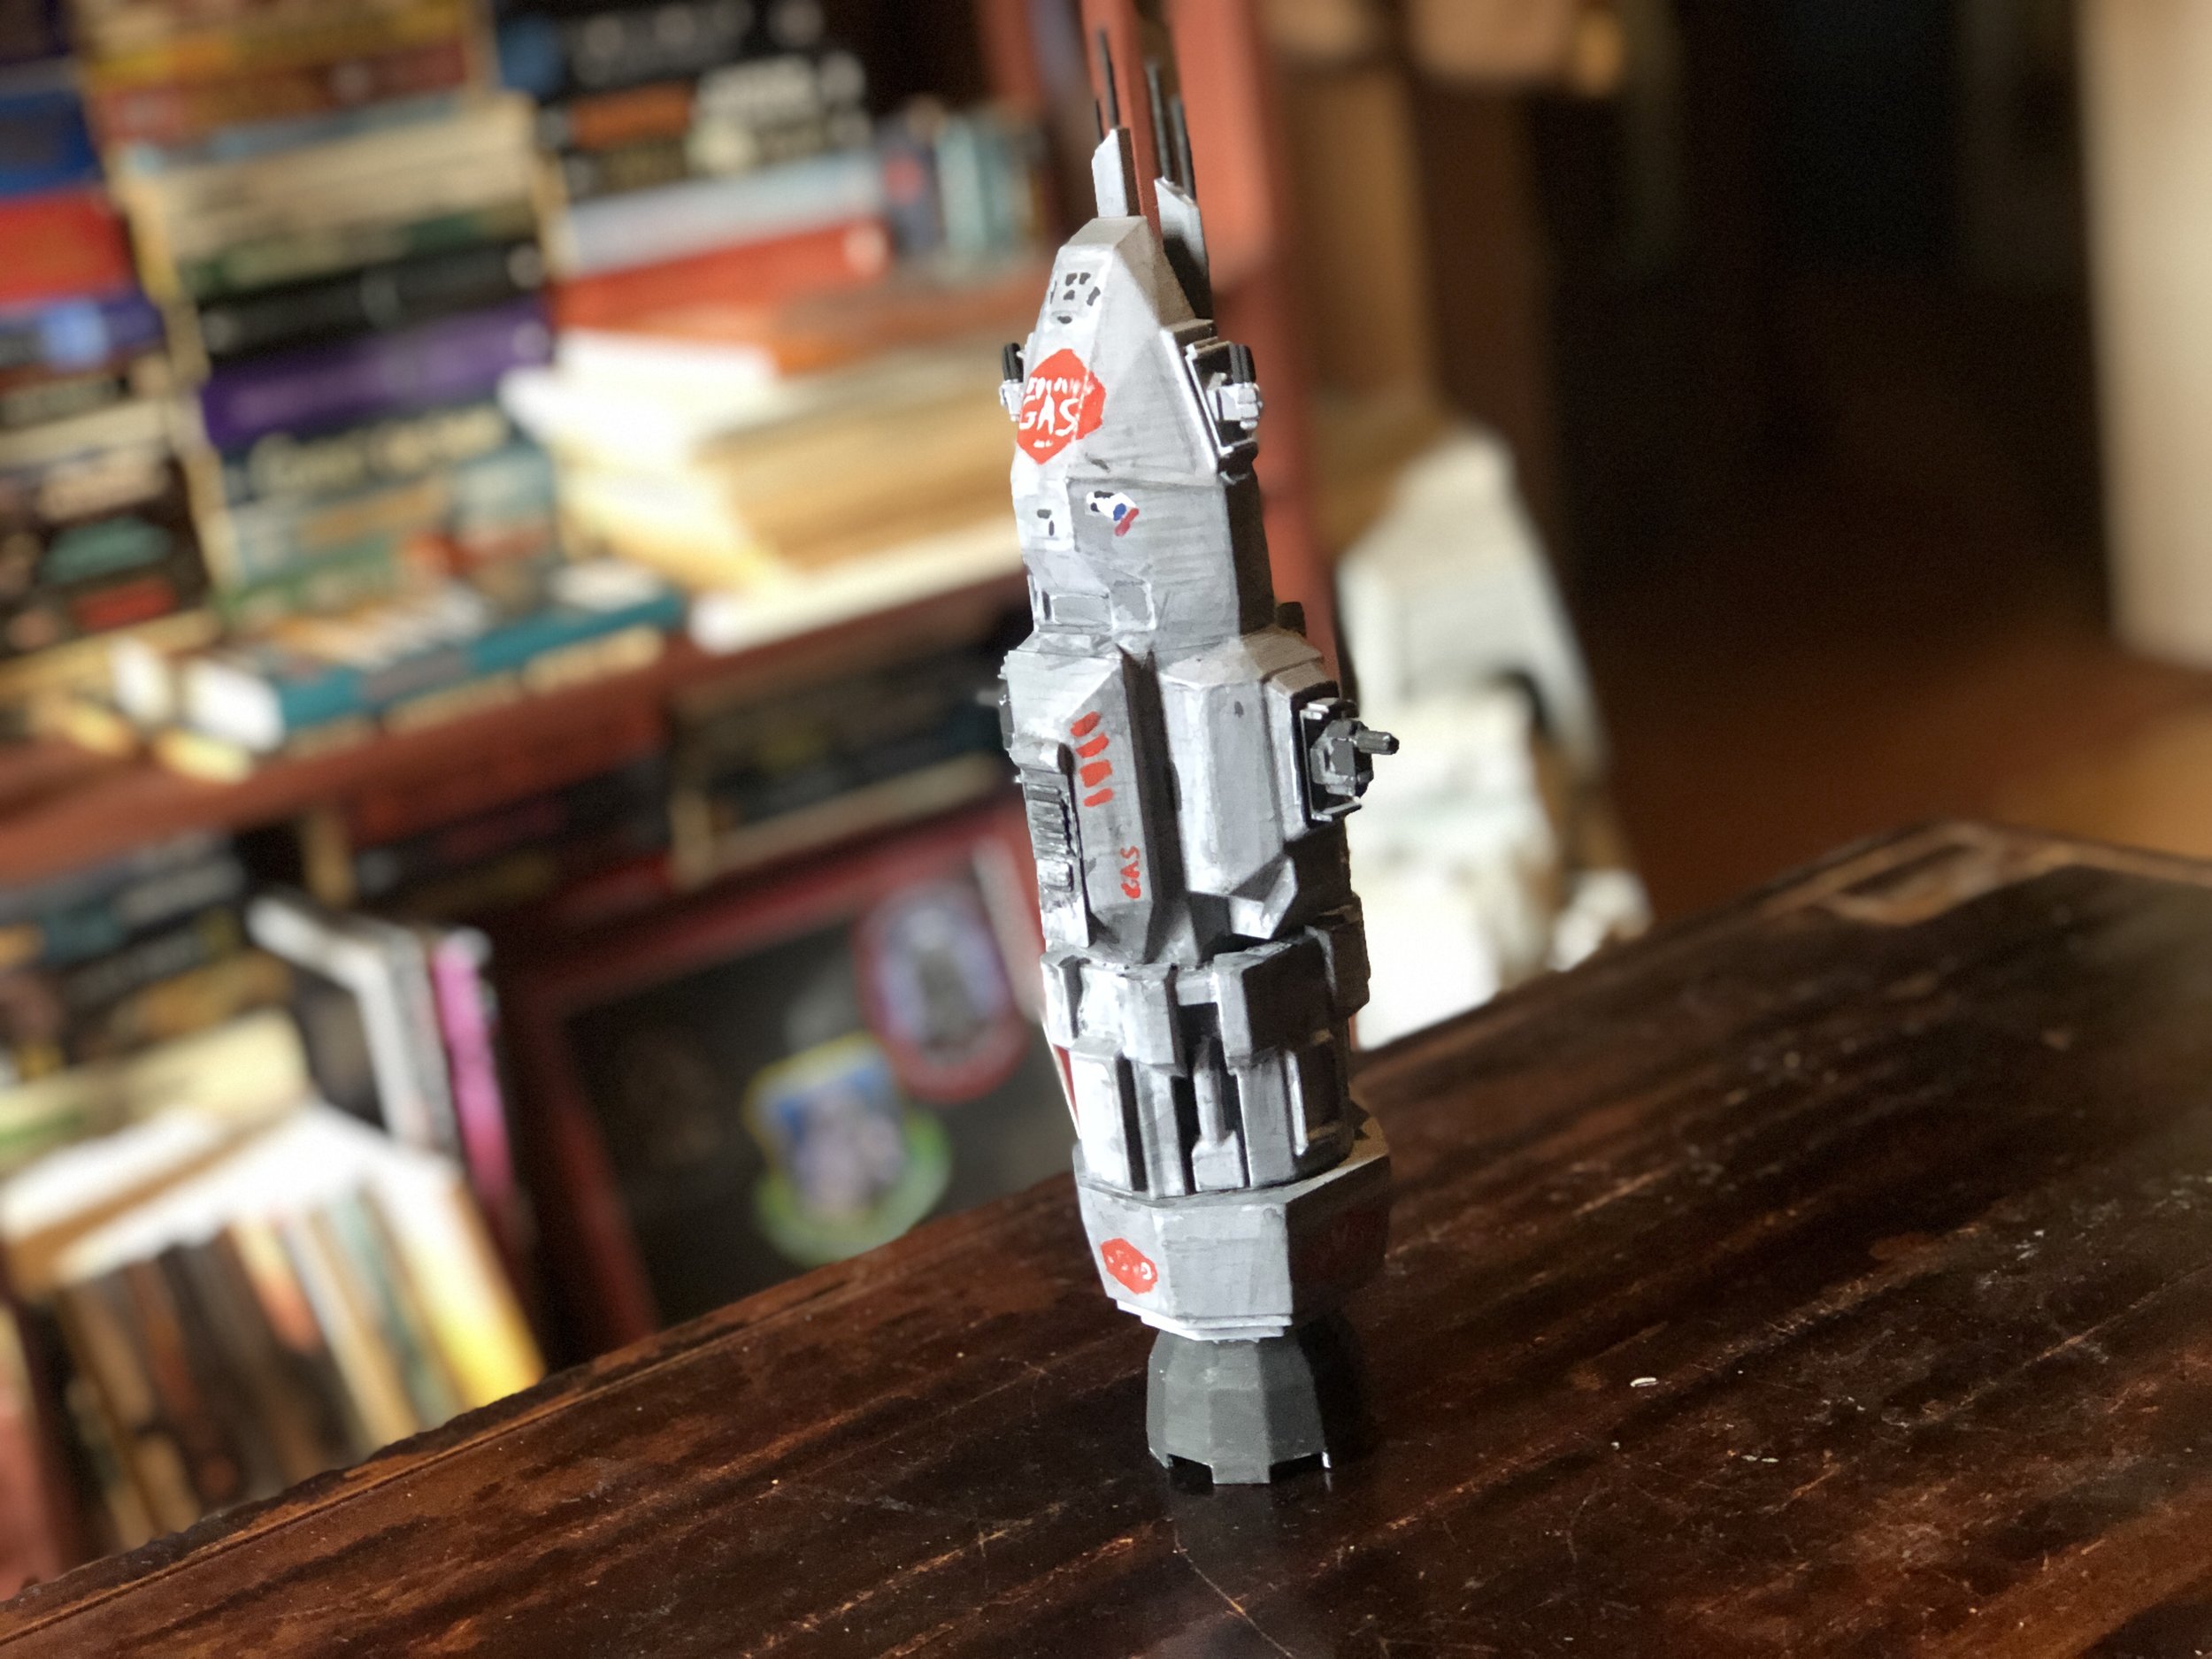
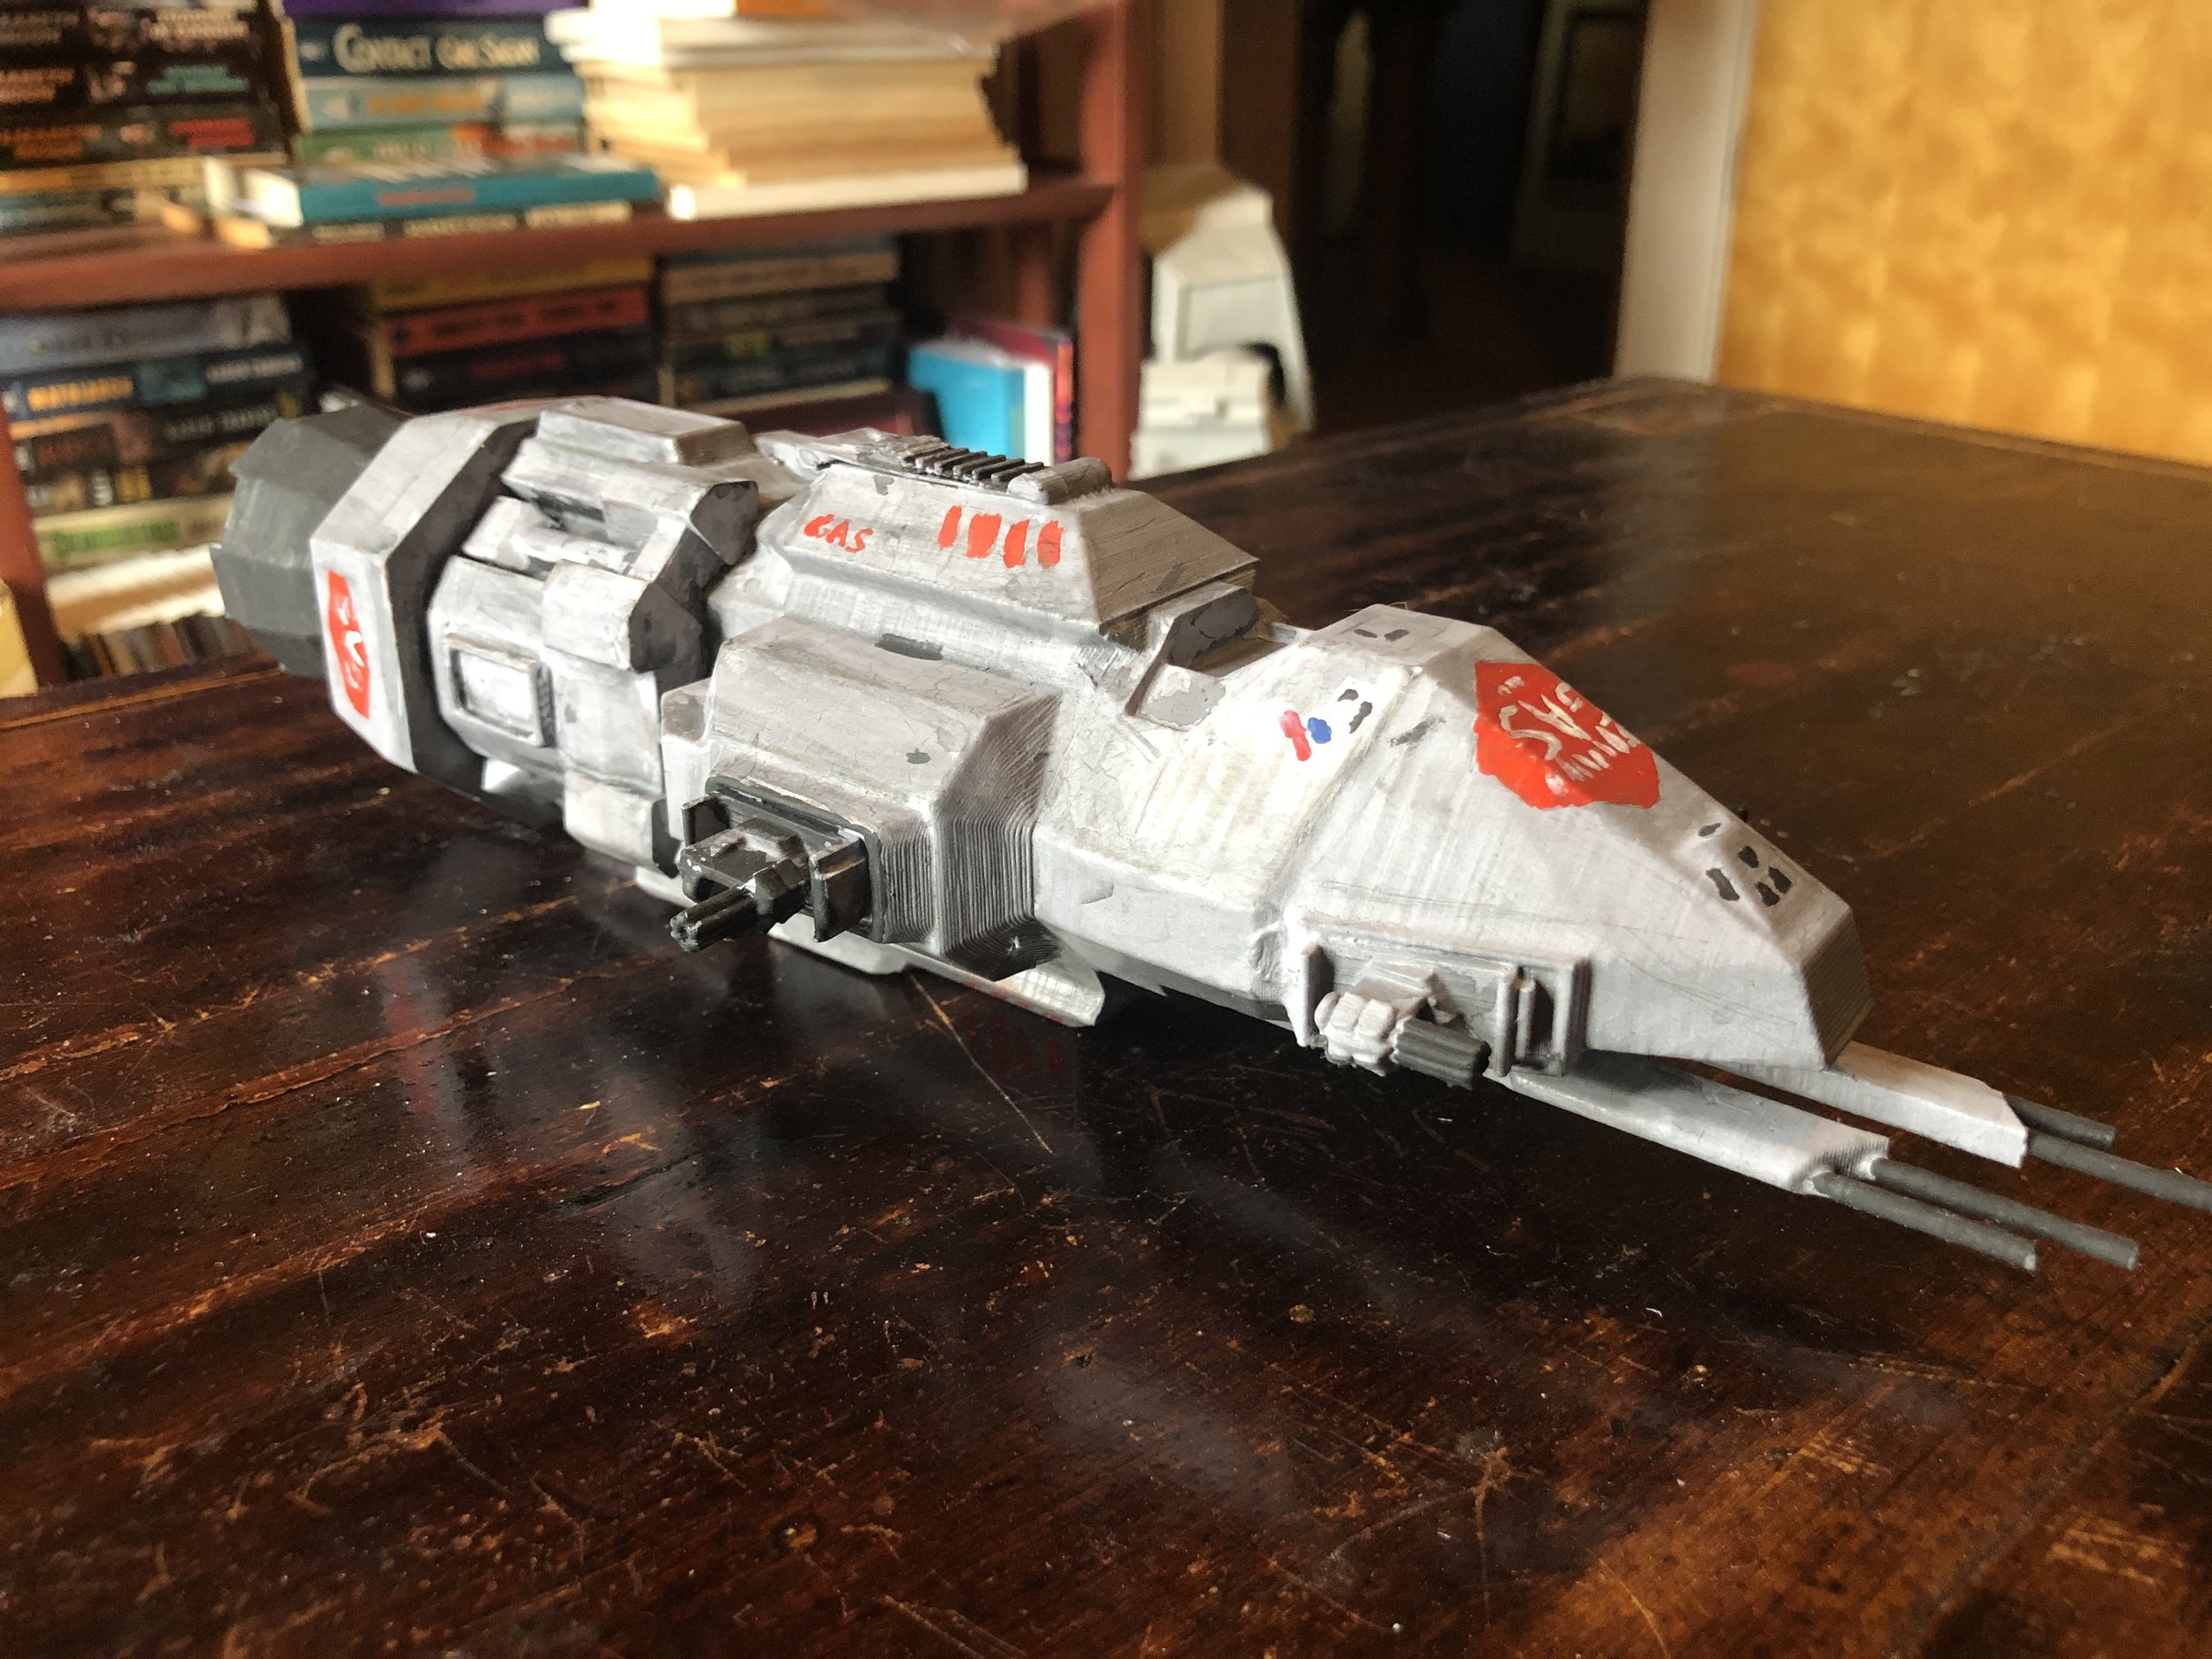
/I’ve long been a fan of James S.A. Corey’s The Expanse series, and I’ve really enjoyed how the Syfy Channel (And now Amazon) have adapted the books for television. The show has largely nailed how I imagined the look and feel of the world presented in the books, and I was particularly happy with how the Rocinante turned out. It looks pretty much how I’d imagine a small Martian Corvette-class gunship might look like.
I recently reviewed the latest book in the series, Tiamat’s Wrath, and as with the rest of my book reviews, I’ve taken a picture of the physical book. I typically will throw in some sort of little knickknack that relates to the theme or subject of the book (like with my reviews for Big Damn Hero, Red Moon, or Solo). I actually used my 3D-printed model of the Rocinante for my review of Persepolis Rising back in 2017, but the angle didn’t really come out as well as I’d liked.
I got the model a couple of years ago when the Syfy Channel released a series of models from the series on Thingiverse, and someone went and posted some files for the guns. For that original review, I planned on painting it up to look like the MCRN Tachi, painting it up in black and then bright orange. That didn’t come out nearly as well as I’d liked — the orange paint I used wasn’t model paint, and it didn’t go on evenly.
For the new review, I wanted to reuse the model, and figured it was time to redo the paint job. I opted to turn it into the Roci, and painted over the entire thing with a couple of coats of gray automotive primer, which was about the right color. The paint cracked a little (too impatient), but between that, the extra sanding, and some of the scratches, it gave the surface a bit more of a worn, damaged/patched look.
I then went to the local model store and picked up some dark orange paint and a couple of fine brushes. Once the primer had completely dried, I hand-sketched on the bigger details with a pencil, and then applied the orange paint, then white. After that, I mixed up some black acrylic and watered it down, and then painted and wiped it off to give it a weathered look — kind of what I did with my Shoretrooper a couple of years ago.
This was the first time I’d ever actually painted a model, so the details are… rough, and a more experienced painter would do a much better job, I’m certain. I’m not actually sure it’s a hobby for me (although damned if I’m not getting Fantasy Flight’s Shoretrooper expansion when it’s out later this year), but it was fun to try out. I’m particularly happy with the pinup on the side, which I roughly painted on. It’s good from a distance, and it’ll hang out on the shelves in my office for now.


